
Advice and inspiration
How to decorate paper bags yourself? Guide
- Why is it worth decorating paper bags?
- Types of paper bags
- Decorating tools and supplies
- Decorating techniques
- Examples of bag decorations
- Summary
Wondering how to add a bit of uniqueness to your gifts? Ordinary paper bags can become real works of art! All you need is a bit of creativity and willingness to create unique, personalized packaging that will delight every recipient. Below you will find a step-by-step guide on how to decorate paper bags yourself.
Why is it worth decorating paper bags?
personalization – By decorating paper bags, you can give the gift an individual character. This is a perfect way to tailor the packaging to the taste of the recipient or the occasion.
Wow effect – A beautifully decorated bag will certainly make an impression and increase the visual value of the gift.
Eco-friendly choice – Instead of buying ready-made paper gift bags, you can decorate the ordinary ones you already have, giving them a new life.
Relaxing fun – Decorating bags is a great way to de-stress and express your creativity.
Types of paper bags
Kraft handbags
Kraft handbags are a classic choice with a natural, brown shade. They are perfect as a background for any decorations, both minimalist and more complex.
White handbags
White paper bags are elegant and modern. Their neutral appearance gives unlimited possibilities when it comes to personalization with paints, stamps or other decorations.
Colorful handbags
Cheerful and energetic colorful bags are perfect for any occasion. They are perfect as a base for creative decorations, e.g. using ribbons or glitter.
Window bags
Do you want your gift to be visible at first glance? Bags with a window are an excellent choice that allows you to display the contents in an attractive way.
Decorating tools and supplies
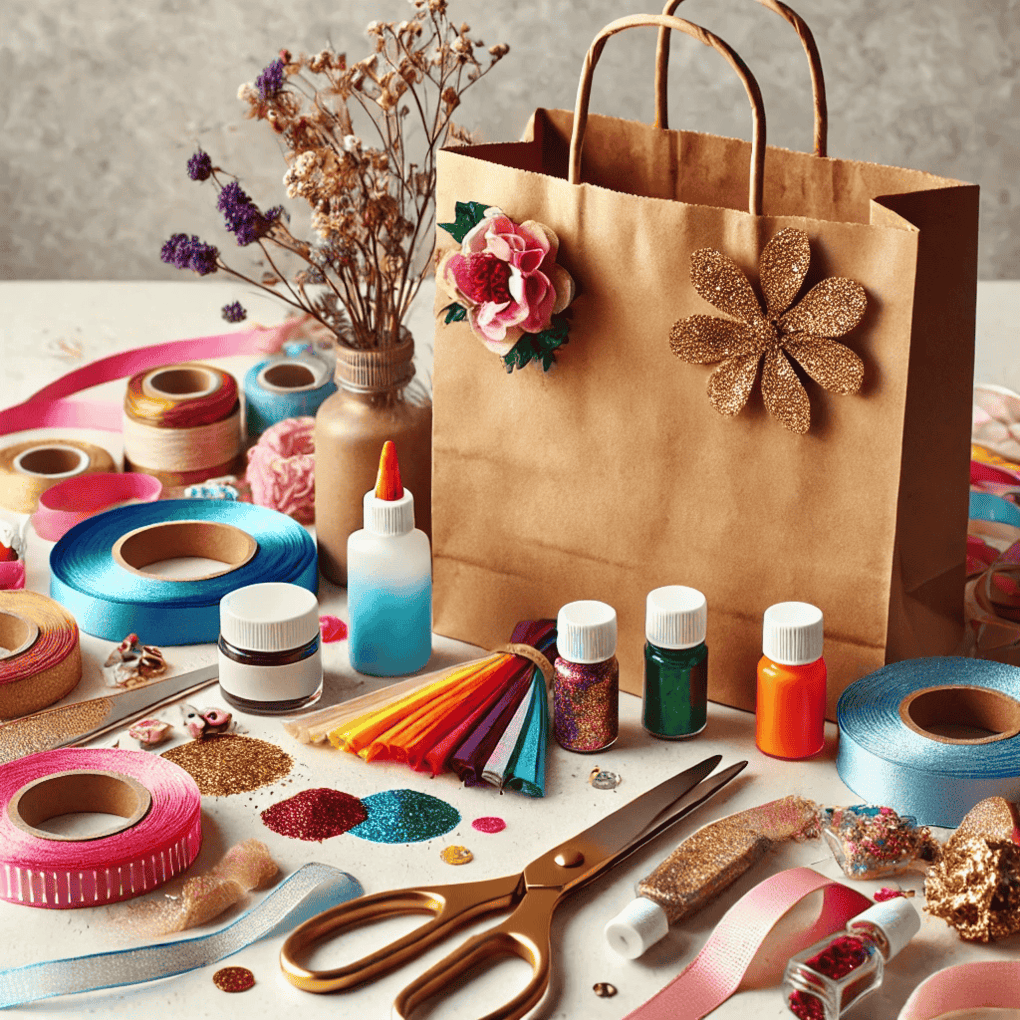
To decorate paper bags yourself, it is worth equipping yourself with basic tools, such as:
- Scissors – both plain and decorative for cutting out creative patterns.
- Adhesive – depending on the material, choose glue stick, liquid or hot glue.
- Decorative tapes – they can add an interesting accent, and double-sided tapes will facilitate the installation of decorations.
- Decorative paper – perfect for cutting out elements that you will glue to the bag.
- Acrylic paints – perfect for painting patterns on bags.
- Ribbons – will add elegance and aesthetics.
- Lace, buttons, glitter, dried flowers – details that will add character.
Decorating techniques
Decoupage
This is a popular technique that allows you to create patterns from napkins.
How to make decoupage step by step?
- Theme selection – Start by selecting appropriate napkins or paper. Choose a design that suits the occasion, such as flowers for birthdays, hearts for Valentine's Day or festive motifs for Christmas.
- Preparing the bag – The paper bag should be clean and dry. Smooth, kraft or white bags that absorb glue well work best.
- Pattern cutout – Carefully cut out the selected motif from the napkin or paper. If you use a napkin, remember to gently separate the top layer that contains the print.
- Applying glue – Using a brush, apply a thin layer of special decoupage glue to the place where you want to place the pattern. You can also apply the glue directly to the napkin, but this requires more precision.
- Sticking the pattern – Gently place the cut out motif on the bag and smooth it with a brush, removing any air bubbles. Be careful not to tear the napkin – it is very delicate.
- Paint protection – After the glue dries, apply several layers of clear acrylic varnish. This will protect the pattern and make it durable and abrasion-resistant. Leave each layer of varnish to dry completely.
Painting with acrylic paints
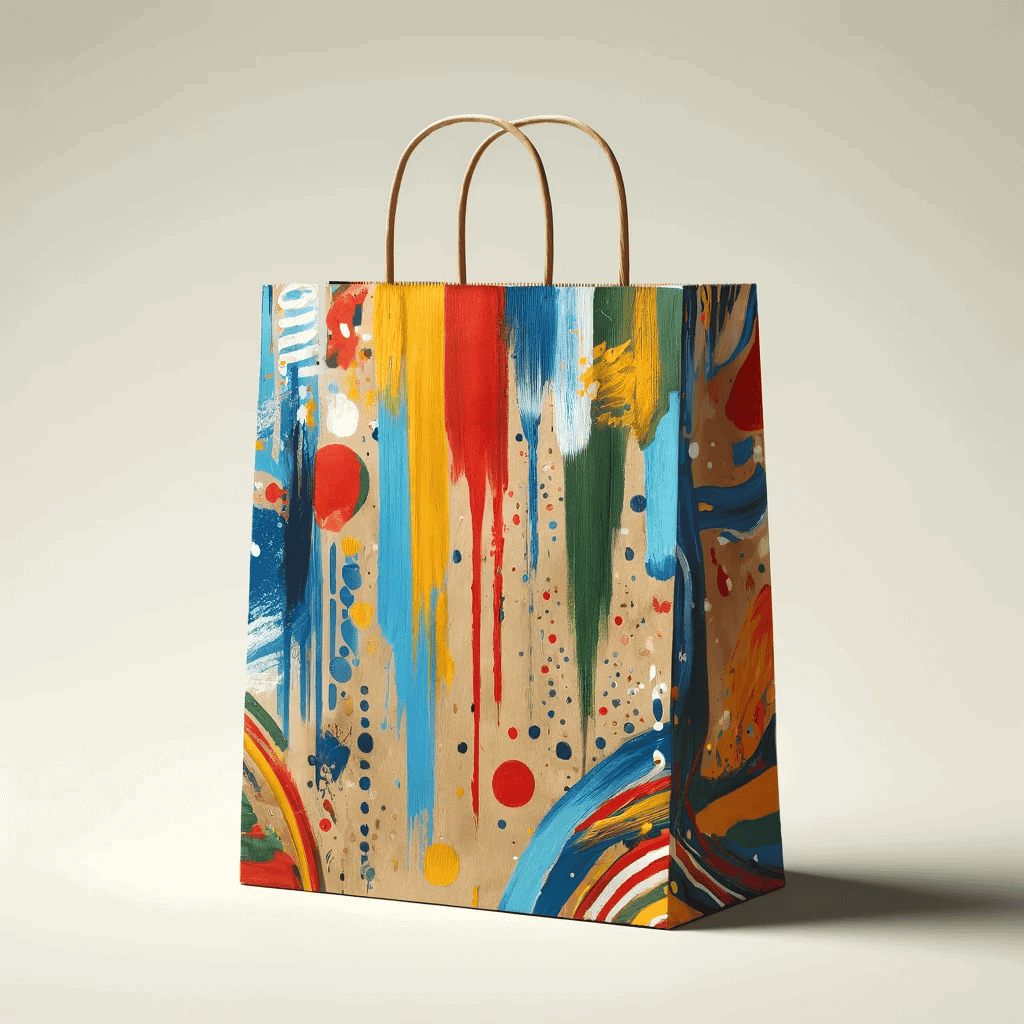
You can paint paper bags by hand using paints.
How to decorate a bag with acrylic paints?
- Select a bag – Smooth bags in a natural kraft or white color will work best. Colorful bags can also be decorated, but the paints will be best visible on a lighter background.
- Prepare materials – You need a set of acrylic paints, brushes of different thicknesses, a cup of water for washing the brushes, a palette for mixing paints and a paper towel to wipe off excess paint.
- Plan the pattern – You can sketch the pattern on the bag in advance with a pencil if you want to work more precisely. Popular patterns include flowers, hearts, geometric shapes or Christmas motifs.
- Painting – Start with large brushes for backgrounds or larger elements, then use thin brushes for details. Acrylic paints dry quickly, so you can apply several layers to obtain more intense colors. The dry brush painting technique allows for subtle transitions between colors, while the use of a sponge can create a textured effect.
- Experiment with effects – You can paint directly on the bag, use stencils to create repeating patterns, or experiment with ombre effects, shading or paint splashes, which will give the bag an artistic look.
- Job security – If you want the patterns to be even more durable, you can apply a layer of clear protective spray varnish to them, which will protect the painting against fading and abrasion.
Stamping
Use stamps to add repeating patterns to the bag.
How to decorate a paper bag using the stamping technique?
- Select a bag – Choose a plain paper bag that will provide a clean background for the stamps. Classic, kraft handbags, white or plain, work best.
- Prepare the stamps – Choose stamps according to the occasion. You can use ready-made stamps available in stores or make your own, for example from an eraser, potato or creative foam.
- Select ink or paint – You can do stamping using ink or acrylic paints. In the case of paints, apply them in a thin layer so that the pattern comes out clearly and precisely. The color of the ink depends on the effect you want to achieve – you can choose classic black or play with vibrant colors.
- Stamping – Dip the stamp in ink or paint, then gently press it onto the bag, applying even pressure. Make sure the stamp does not slide on the surface so that the pattern is sharp. You can stamp at regular intervals to create a repeating pattern, or arrange them randomly for a more artistic effect.
- Add details – Stamping is a great base for further personalization. You can add hand-painted elements, shading, rhinestones, or ribbons to enhance the final effect.
Examples of bag decorations
- Ribbons – Satin or jute ribbons can be the perfect addition to add elegance to the bag.
- Lace – They go perfectly with kraft bags, giving them a romantic character.
- Glitter and rhinestones – If you want a glamour effect, glitter and rhinestones will be the perfect choice.
- Dried flowers – Add a natural, rustic touch that will give the bag a unique charm.
How to match the decoration to the occasion?
- For birthdays – Opt for bright colors, balloons, and personalized inscriptions.
- For a wedding – Elegant, muted colors, lace, and monograms.
- For holidays – Gold, red, green ribbons, and holiday motifs, such as Christmas trees or stars.
- Easter – Pastel colors, bunny and decorated egg motifs.
Summary
Decorating paper bags is a simple way to give your gifts a unique character. All you need are a few basic tools and a bit of creativity to transform an ordinary bag into a beautiful package that will surely delight the recipient.